

Every clothing brand eventually faces the same frustrating reality: a customer opens their package, pulls out a wrinkled, crumpled garment, and immediately questions the brand’s quality. Learning how to package clothes for shipping properly is the difference between five-star reviews and return requests.
Whether you’re a DTC fashion brand fulfilling orders from your garage or an established label shipping hundreds of packages daily, the way you package apparel directly impacts customer satisfaction, return rates, and brand perception. This guide walks through proven techniques for shipping clothing without wrinkles or damage—and explains when it makes sense to let a fulfillment partner handle it for you.
Why Clothing Packaging Matters More Than You Think
Apparel has unique shipping challenges that other product categories don’t face. Clothing is soft, foldable, and vulnerable to moisture, odors, and creasing. Unlike a hardcover book or a phone case, a garment can arrive technically undamaged yet still disappoint a customer if it looks like it was stuffed into a box.
Consider these realities:
- Return rates for online apparel hover between 20% and 30%, and “item not as expected” is a leading reason
- 62% of consumers say packaging quality influences their perception of a brand
- A single negative unboxing experience can cost you a customer permanently—and earn a public review warning others away
Getting clothing packaging right protects your margins, reduces returns, and builds the kind of brand loyalty that drives repeat purchases.
Essential Packaging Materials for Shipping Clothes
Before diving into technique, you need the right materials. Using incorrect or cheap packaging materials is the most common mistake clothing brands make.
Poly Mailers
Lightweight, waterproof, and cost-effective, poly mailers work well for single items like t-shirts, leggings, and lightweight tops. They reduce shipping costs because they weigh almost nothing and can use dimensional weight to your advantage.
Best for: Casual wear, basics, activewear, and accessories.
Limitations: No structural protection. Not ideal for items that need to stay perfectly flat or for multi-item orders.
Corrugated Boxes
Standard shipping boxes provide structure and protection. Choose the right size—too large and items shift around during transit, too small and garments get compressed and wrinkled.
Best for: Multi-item orders, structured garments (blazers, coats), and premium brands where the unboxing experience matters.
Tissue Paper
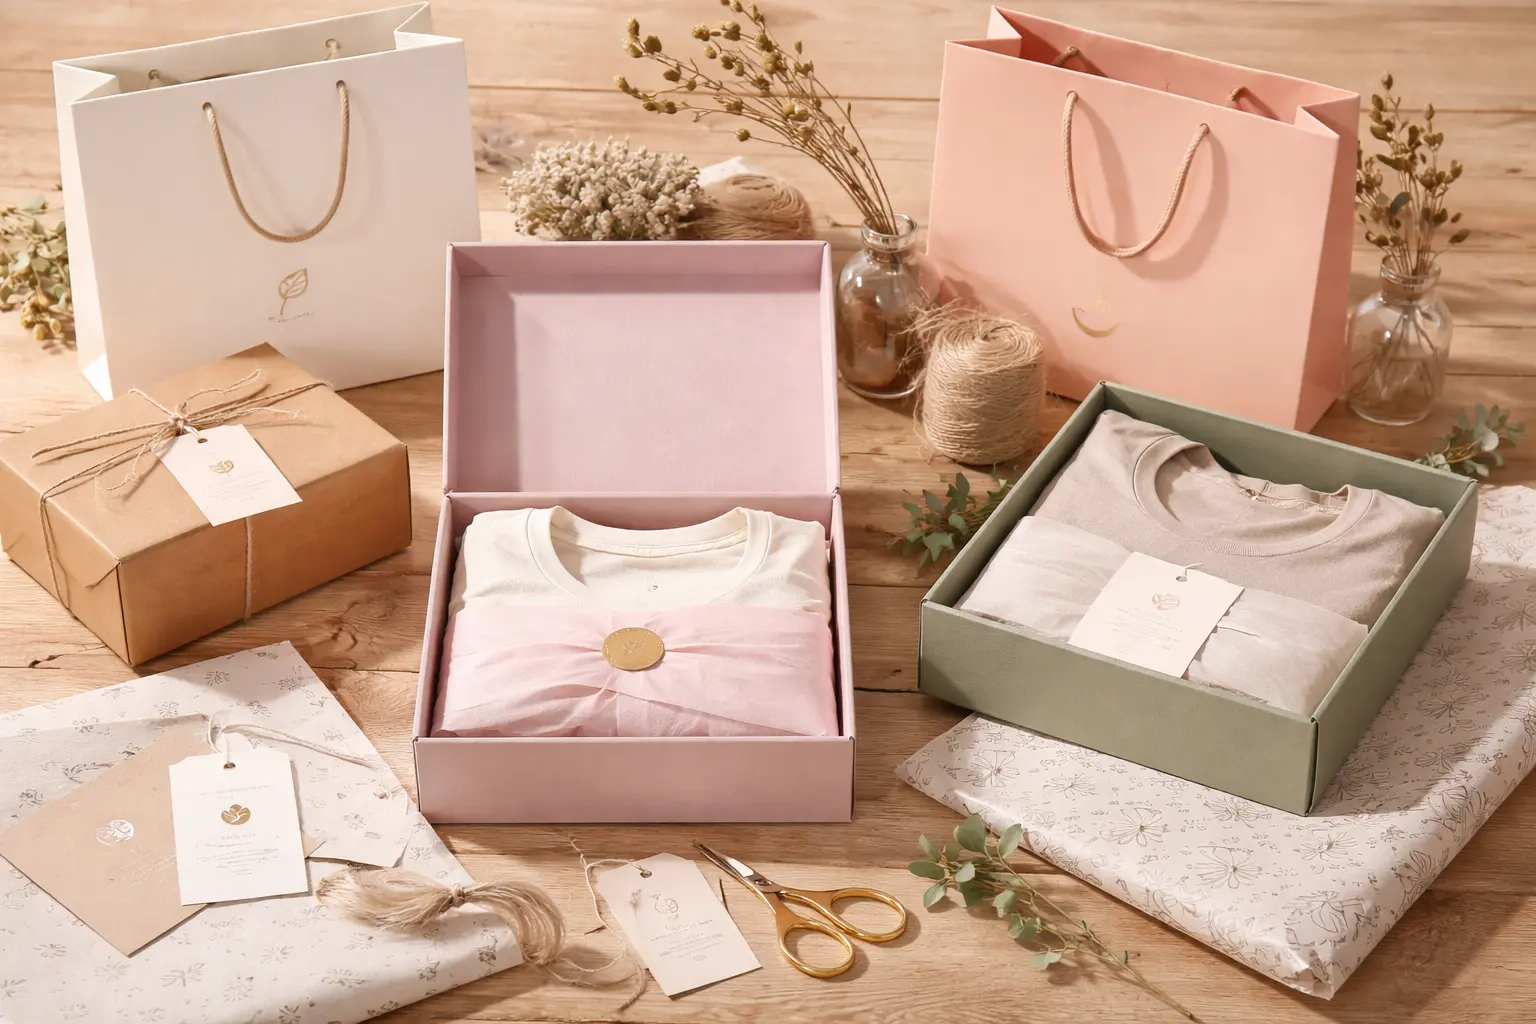
Wrapping individual garments in tissue paper serves double duty: it reduces friction between items (preventing wrinkles) and creates a premium unboxing moment. Branded tissue paper in your brand’s colors elevates the experience further.
Garment Bags
Clear poly garment bags protect individual pieces from moisture and keep items separated within a box. Most wholesale apparel ships in garment bags for a reason—they work.
Protective Inserts
Depending on the garment type, you may need:
- Cardboard inserts for collared shirts to maintain collar shape
- Tissue stuffing for structured items like handbags or boots
- Acid-free paper for delicate or vintage fabrics
- Moisture-absorbing packets for leather or suede
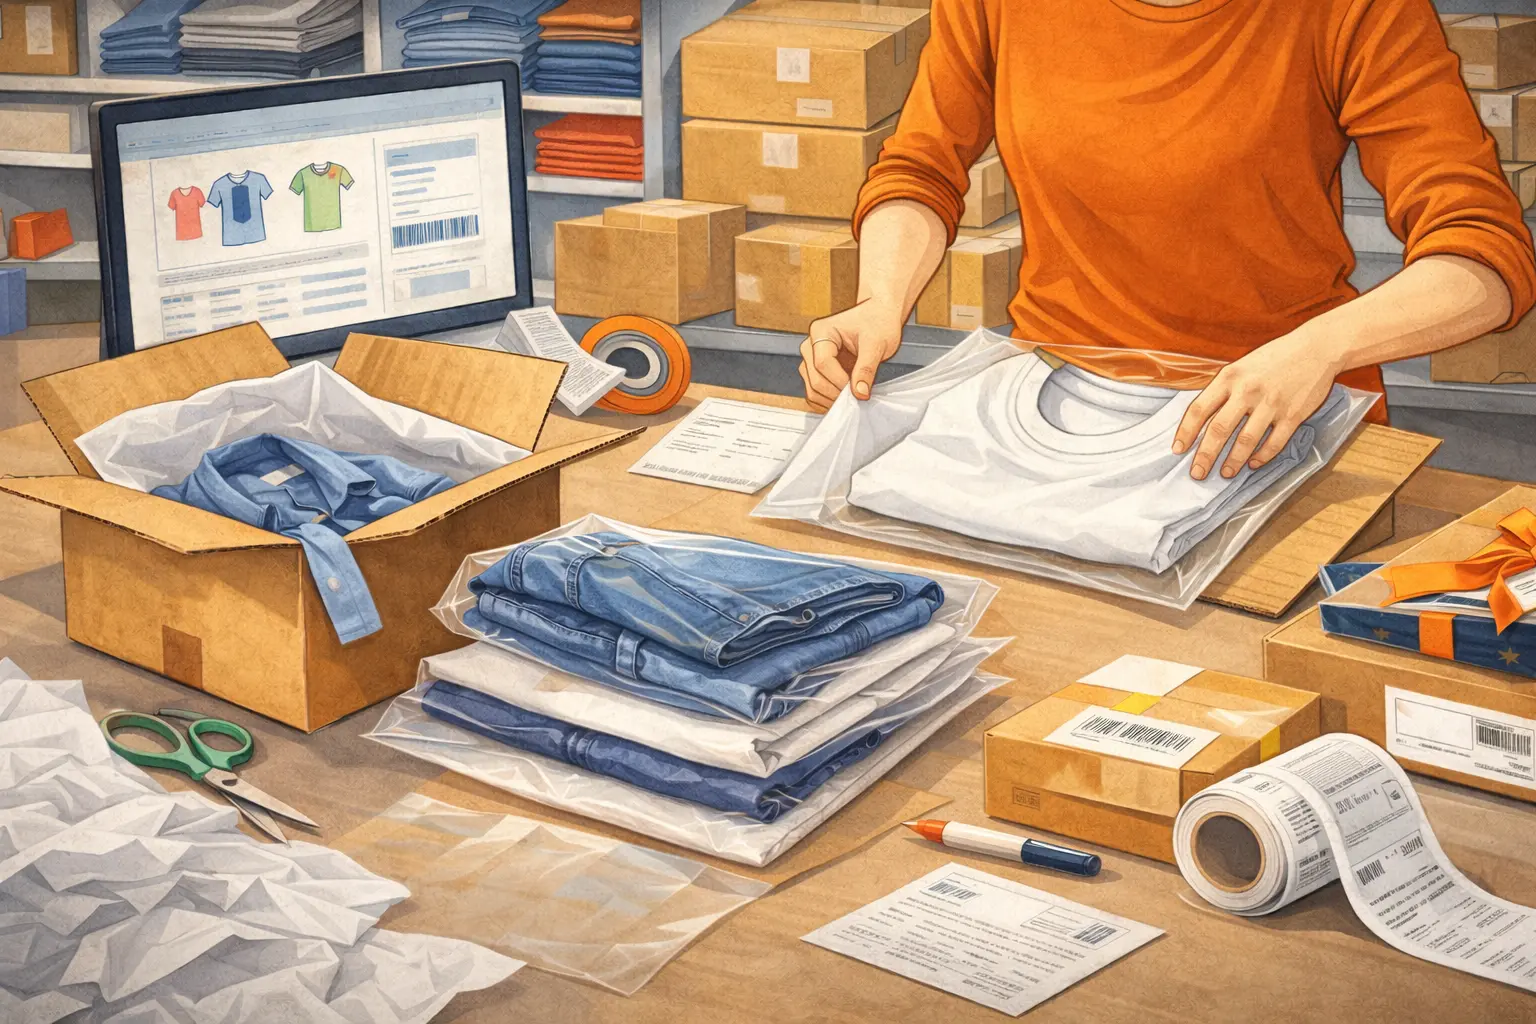
How to Package Clothes for Shipping: Step-by-Step
Follow these steps to pack garments properly regardless of your shipping volume.
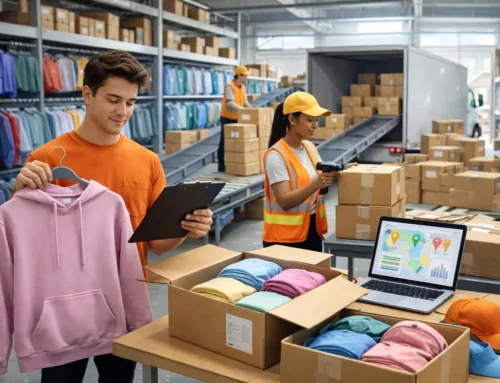
Step 1: Inspect Every Item Before Packing
Quality control starts before anything goes into a bag or box. Check each garment for:
- Stains, loose threads, or defects
- Correct size, color, and style matching the order
- Proper hang tags and care labels attached
- Overall presentation quality
Catching issues at this stage prevents returns, re-ships, and customer complaints. Professional pick and pack fulfillment operations build quality checks into every order—it’s one of the biggest advantages of working with specialists.
Step 2: Fold Garments Properly
How you fold a garment determines how it looks when the customer opens the package. Different items require different approaches:
T-shirts and casual tops:
- Lay the shirt face-down on a clean surface
- Fold both sleeves inward toward the center
- Fold the shirt in half lengthwise, then in thirds
- Place tissue paper between layers to prevent creasing
Dress shirts and button-downs:
- Button the shirt fully and lay face-down
- Fold sleeves back at a diagonal
- Fold sides inward to create a rectangle
- Fold bottom up in thirds
- Insert a cardboard form inside the collar to maintain shape
Pants and jeans:
- Lay flat and smooth out wrinkles
- Fold in half lengthwise along the crease or center seam
- Fold in thirds from bottom to waistband
- Wrap in tissue paper
Dresses and longer garments:
- Lay flat and smooth completely
- Fold sleeves across the body
- Fold in thirds lengthwise, placing tissue paper between each fold
- For delicate fabrics, consider rolling instead of folding to prevent hard creases
Step 3: Wrap and Protect
Once folded:
- Wrap each garment individually in tissue paper
- Place items in clear poly garment bags for moisture protection
- For multi-item orders, stack items with tissue between each piece
- Position heavier items at the bottom of the box
Step 4: Choose the Right Package Size
This step is where many brands waste money or create problems:
- Too large: Items shift during transit, arriving wrinkled and messy
- Too small: Garments get compressed, creating deep creases
- Just right: The garment fills the space without being squeezed
For single lightweight items, a properly sized poly mailer is often the best choice. For multi-item orders or premium garments, use a box with just enough room for the items plus minimal void fill.
Using a packaging strategy that matches box size to order contents also reduces dimensional weight charges—saving you money on every shipment.
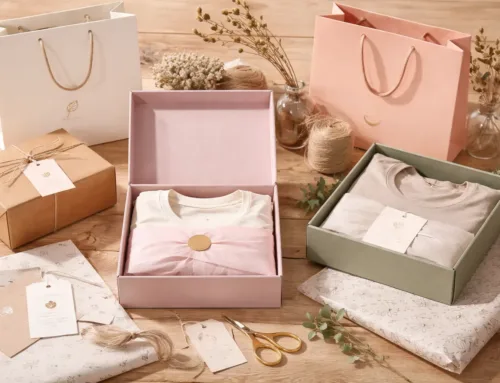
Step 5: Add Branded Touches
This step separates forgettable shipments from memorable brand experiences:
- Custom tissue paper or branded stickers sealing the wrap
- A printed thank-you card or personal note
- Care instructions specific to the garment
- A promotional insert for the next purchase
- Branded tape or custom box printing
These details cost pennies per order but significantly impact how customers feel about your brand. Brands that invest in the unboxing experience report higher social media sharing rates and stronger repeat purchase behavior.
Step 6: Seal and Label
- Seal poly mailers securely using the adhesive strip
- Tape boxes with strong packing tape on all seams
- Apply shipping labels flat and straight—wrinkled labels cause scanning issues and delays
- Include a packing slip inside the package
Packaging Tips by Garment Type
Different apparel categories require specific handling. Here’s what works best for common product types.
Activewear and Athleisure
Moisture-wicking fabrics are generally wrinkle-resistant, making them ideal for poly mailers. Roll items instead of folding to save space and reduce creases. These items ship well in lightweight packaging, keeping costs low.
Streetwear and Graphic Tees
The print is the product. Place tissue paper directly over printed areas to prevent ink transfer. Fold print-side inward for extra protection. Many streetwear brands use branded poly mailers that reflect their aesthetic.
Luxury and Formal Wear
Luxury garments demand luxury apparel packaging. Use rigid boxes, high-quality tissue, ribbon closures, and branded elements throughout. Garment bags are essential. Consider double-boxing for items over $200—an inner branded box inside a plain outer shipping box protects both the product and the presentation.
Swimwear and Intimates
Small, lightweight items that pair well with poly mailers. Wrap individually in tissue. Pay extra attention to any hardware (clasps, underwire, hooks) that could snag fabric during transit.
Outerwear and Coats
These larger items require appropriately sized boxes. Fold along natural seam lines, stuff sleeves with tissue to maintain shape, and use enough void fill to prevent movement. Outerwear is heavy—watch your dimensional weight calculations to avoid surprise shipping charges.
Common Clothing Packaging Mistakes to Avoid
Even experienced brands make these errors:
Skipping the Garment Bag
Shipping without moisture protection is a gamble. One leaking package in the delivery truck can ruin your product. Always use a poly bag or garment bag as a moisture barrier.
Using One Box Size for Everything
A single size-fits-all approach wastes money and creates poor presentation. A t-shirt rattling around in a large box looks careless. Invest in two or three box sizes to cover your product range.
Ignoring Seasonal Considerations
Summer shipments can reach extreme temperatures inside delivery trucks. Winter packages may encounter rain, snow, or condensation. Adjust your moisture protection and material choices based on seasonal conditions.
Over-Packing with Void Fill
Excessive packing peanuts or crumpled paper looks messy and frustrates customers. Use just enough to prevent movement. Air pillows or kraft paper provide cleaner presentation than loose fill.
Neglecting Returns Packaging
If the customer can’t reuse the packaging to return an item, you create friction in the returns process. Consider using resealable poly mailers or including a return label and bag inside the original package.
When to Outsource Your Apparel Packaging
Packing clothes yourself works when you’re shipping 10 or 20 orders a day. But as your brand grows, the math changes quickly.
Signs You’ve Outgrown DIY Packaging
- You’re spending more time packing than designing, marketing, or growing your brand
- Order accuracy is slipping as volume increases
- Your living room or garage looks like a warehouse
- Peak seasons (holiday, back-to-school) overwhelm your capacity
- Customers complain about inconsistent packaging quality
- Shipping costs are eating into your margins because you can’t negotiate carrier rates
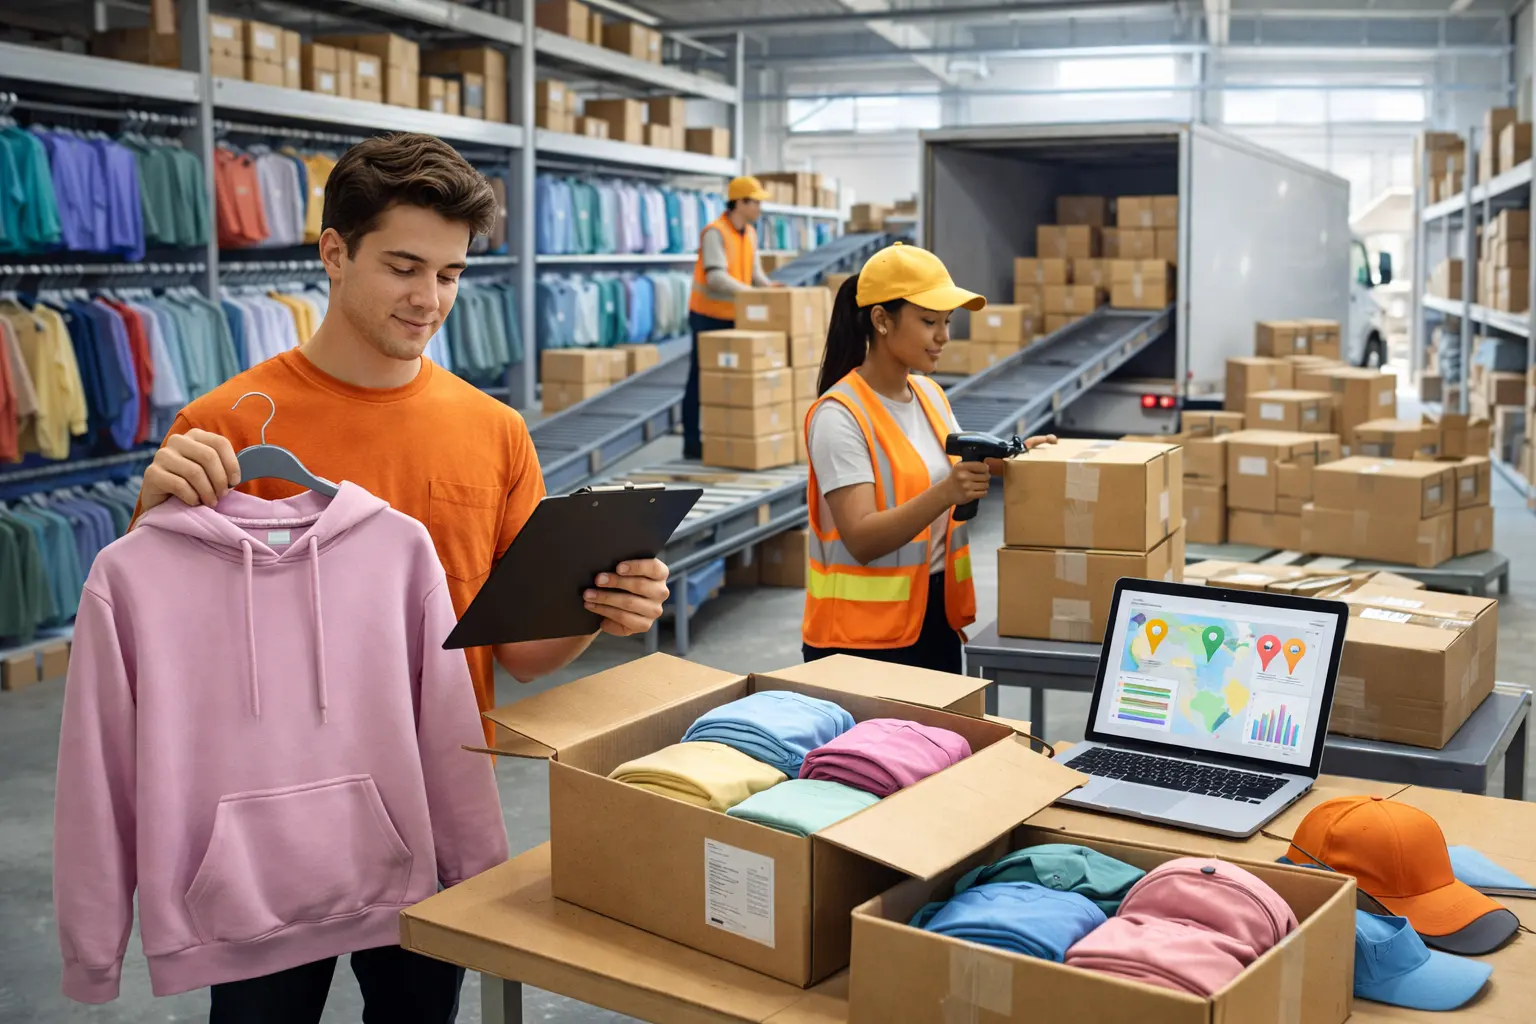
What a 3PL Handles for You
A fulfillment partner with apparel experience takes the entire packaging and shipping process off your plate:
- Garment-specific handling: Proper folding, tissue wrapping, and quality inspection by trained staff
- Custom branded packaging: Your tissue, your boxes, your inserts—executed consistently across every order
- Inventory storage: Professional warehousing and distribution with climate-controlled environments
- Carrier rate discounts: 3PLs ship high volumes and pass savings to you
- Scalability: Handle 50 orders or 5,000 without changing your process
- Same-day shipping: Orders placed by cutoff ship that day
For small businesses especially, outsourcing apparel packaging frees up the founder’s time for what actually grows the brand—product development, marketing, and customer relationships.
Frequently Asked Questions
What is the cheapest way to ship clothing?
Poly mailers are the most affordable option for lightweight, single-item orders. They minimize both packaging material costs and shipping charges because of their low weight and small dimensions. For heavier or multi-item shipments, right-sizing your boxes to avoid excess dimensional weight keeps costs down.
How do you keep clothes from wrinkling during shipping?
Proper folding technique, tissue paper between layers, and choosing the right package size are the three keys. Rolling works better than folding for knit fabrics and activewear. For structured garments, cardboard inserts and garment bags maintain shape throughout transit.
Should I use boxes or poly mailers for shipping clothes?
It depends on the garment and your brand positioning. Poly mailers work well for casual, lightweight items and keep costs low. Boxes are better for multi-item orders, structured garments, and brands that want a premium unboxing experience. Many brands use both depending on the order.
How much does it cost to package clothing for shipping?
Packaging materials typically cost $0.50 to $3.00 per order depending on materials used. A basic poly mailer costs under $0.30. A branded box with tissue paper, stickers, and inserts can run $2.00 to $5.00. The real cost often isn’t materials—it’s the labor time spent packing each order.
When should a clothing brand start using a 3PL?
Most apparel brands benefit from a 3PL partnership once they consistently ship 100 or more orders per day, though many find value earlier when factoring in time savings, reduced error rates, and better shipping rates. If packaging quality is inconsistent or fulfillment is pulling you away from growing your brand, it’s time to explore outsourcing.
Conclusion
Knowing how to package clothes for shipping properly is a foundational skill for any apparel brand. The right materials, proper folding techniques, and attention to the unboxing experience directly impact customer satisfaction, return rates, and brand perception.
But packaging is only one part of the equation. As your order volume grows, maintaining consistent quality while managing inventory, shipping logistics, and returns becomes increasingly complex. That’s when partnering with a fulfillment provider experienced in apparel packaging becomes a strategic advantage—not just an operational convenience.
The brands that win in ecommerce treat every package as a brand touchpoint. Whether you handle it yourself or work with a partner, get the packaging right and your customers will notice.
")